Business settings affect future data entry and screen visibility. Roles grant actions; user location access narrows where those actions apply. Invoice numbering, invoice appearance, product tax and payment methods have separate settings. Configure one subject at a time and verify its effect with an approved sample before changing the next.
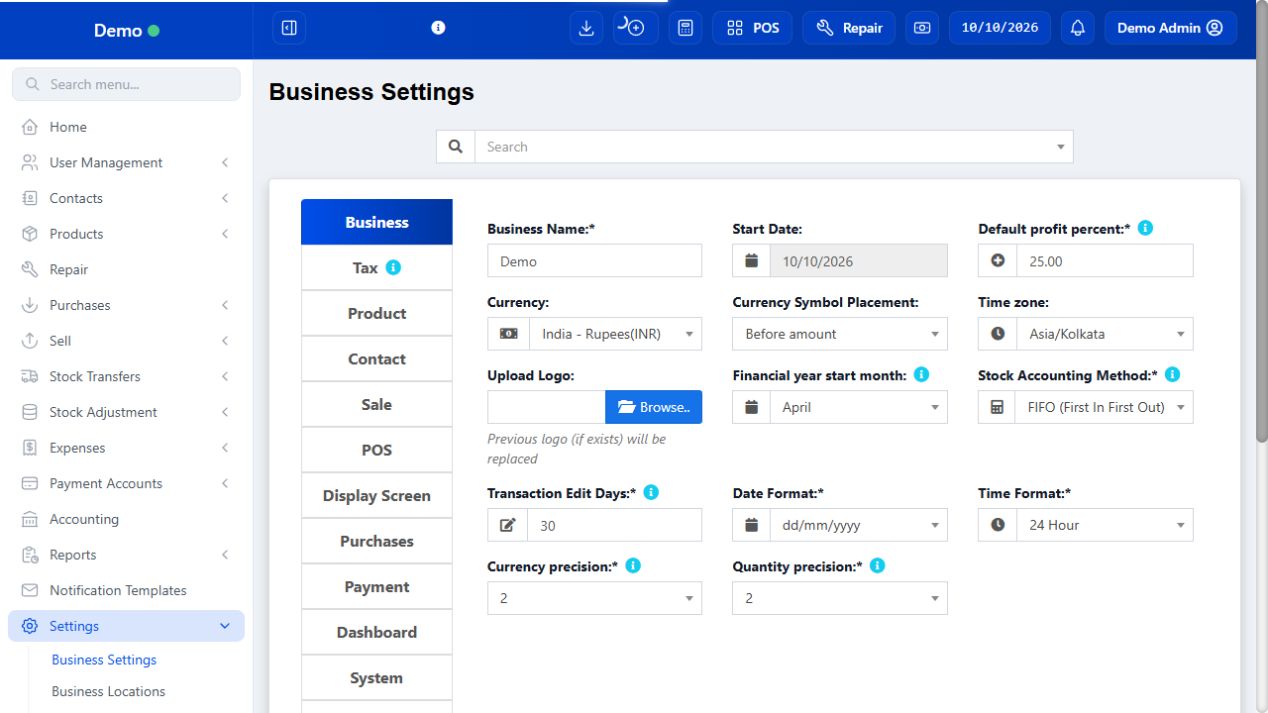
SCREEN GUIDE Business setup & users — module overview. Select the screenshot to enlarge; optional fields may differ in your business.
Field reference
Use this while completing the form. A required field is marked with *; conditional fields appear only when enabled.
Field / control
What to enter or understand
Business name / Currency / Timezone
Business identity and how money/time are displayed. Wrong timezone makes date-based searches confusing.
Currency / quantity precision
Display and rounding behavior. Quantity precision must suit the units used; money and quantity are different measurements.
Financial year start
Used for year-based reporting. It does not erase transactions at the new year.
Product settings
Visibility/features such as brands, categories, lots, expiry, racks and product taxes. Enabling a feature does not fill historical data.
POS settings
Selling behavior such as allowed edits, credit/discount/rounding and payment controls. Verify against the cashier’s permitted screen.
Location scheme/layout
Which numbering and receipt design an outlet uses. Define and assign both.
Role permissions
Allowed actions such as view/create/edit/pay/close. Role name alone is not a permission list.
User access
Login eligibility and assigned outlets/visibility. A role can be valid while an outlet remains inaccessible.
Reference prefixes / custom labels
Business-specific identifiers and fields. Train staff on their meaning before using them in imports.
Before you start Have the legal/shop name, address, currency, tax information and working timezone ready.
Steps
Open Business Settings and review the Business details. Use the shop’s real details rather than the demo values.
Set currency, date format, time format and timezone to match the shop. Review financial year and quantity/currency precision.
Review Product and POS settings for stock tracking, lot numbers, expiry, discounts, credit sales and rounding. Enable only the features your shop uses.
Review notification and integration settings with the owner. Save the changes, then sign out and back in if the current session still shows old settings.
Create a test bill in the demo environment and check tax, date, rounding and receipt before using the configuration in real trading.
Check the result New transactions use the selected business rules. Existing historical bills may retain their original details.
Before you start Use separate cashier, manager and administrator roles.
Steps
Open Roles, choose Add and enter the role name. Select the permissions for the role: selling, product/price changes, register closing, expenses and reports as needed.
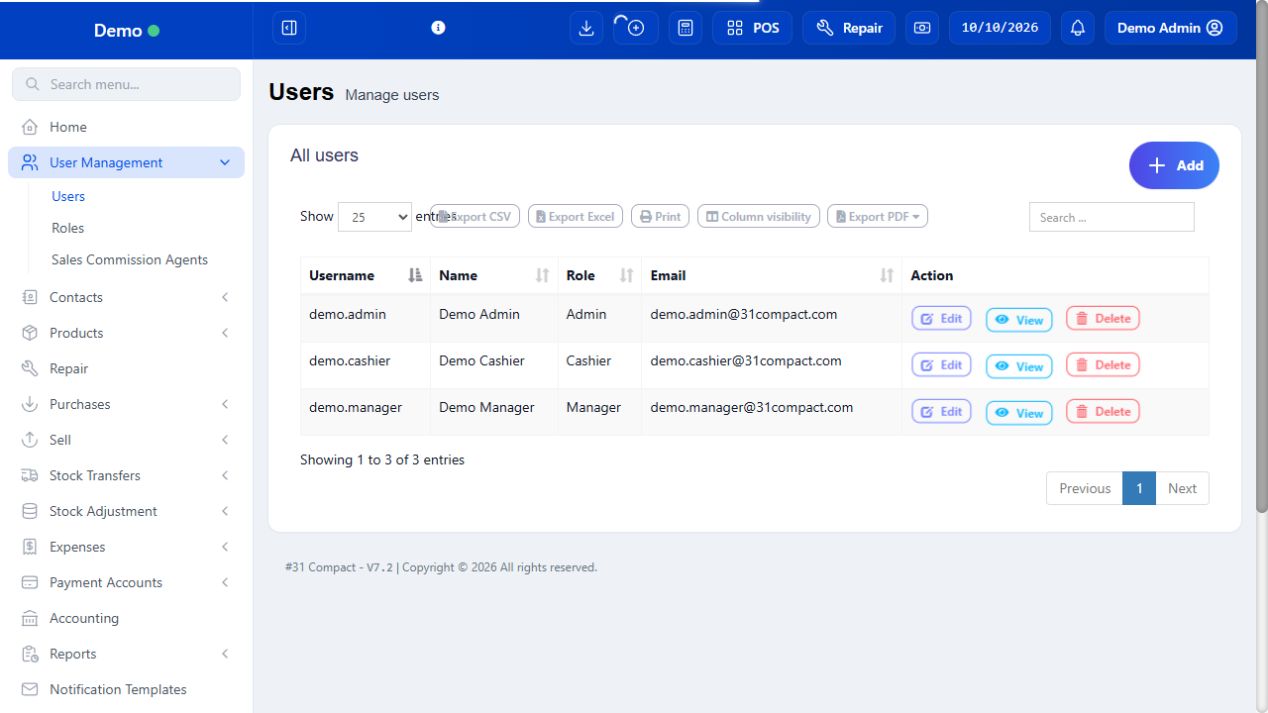
Save the role. Open Users and choose Add. Enter the staff member’s name, unique username and contact details.
Assign the role and permitted locations. Review whether login is allowed and whether the user can see only their own contacts or transactions.
Have the staff member sign in with their own account and confirm they can reach the required pages. Check that restricted settings are unavailable.
SCREEN GUIDE Create roles and staff logins — look for the controls described in the steps. Select the screenshot to enlarge; optional fields may differ in your business.
Check the result Transactions and shifts are attributable to the correct person.
Where to go Settings → Tax Rates / Types of service; Products → Units
Before you start Prepare the unit names and rates you will actually use.
Steps
Add units such as Piece, Bottle, Pack or Kilogram. Allow decimals only where fractional quantities are meaningful.
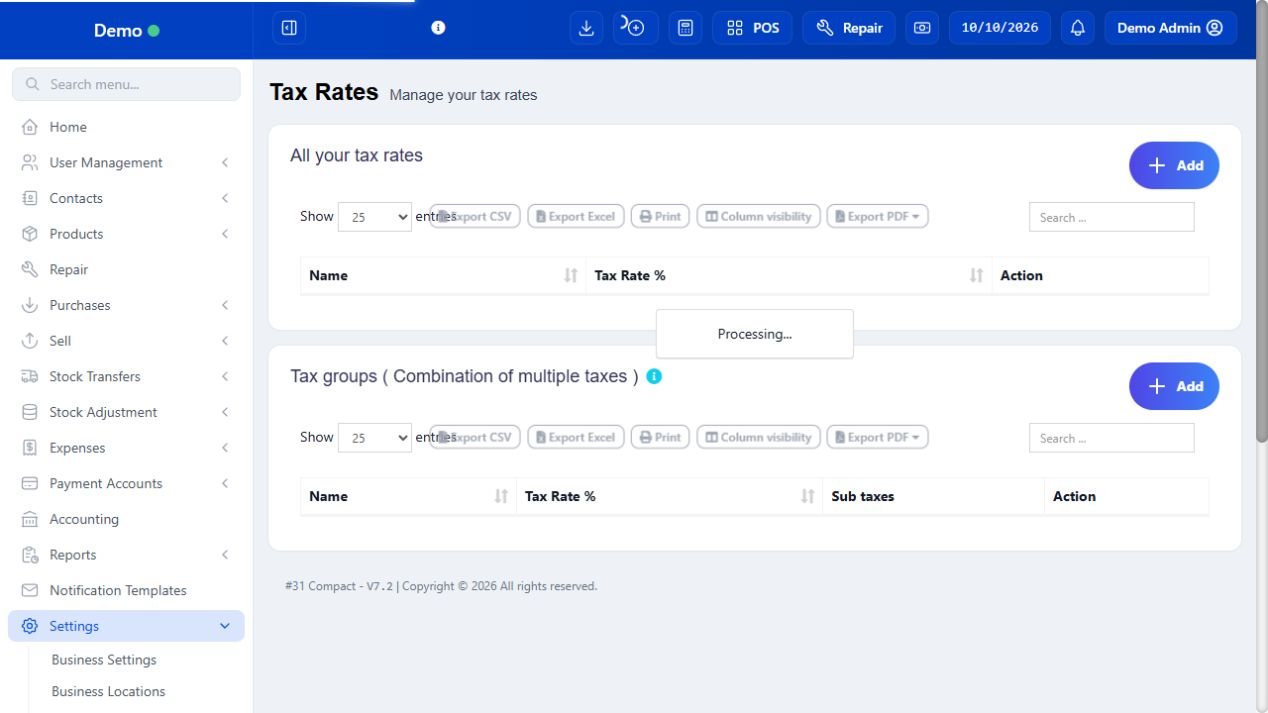
Add the required tax rate. A tax group combines configured rates; check the combined rate before assigning it to products.
Choose whether product prices are inclusive or exclusive of tax when creating the product.
If you use delivery or other services, add Types of service and review any service charges. Select the correct service on supported web POS screens.
SCREEN GUIDE Configure tax, units and service types — look for the controls described in the steps. Select the screenshot to enlarge; optional fields may differ in your business.
Check the result Quantities, rates and prices have consistent meanings across purchases and sales.
Where to go Settings → Business Settings / Roles / Locations
Before you start Know the desired change and the affected outlets/users.
Steps
Note the current setting and the reason for changing it. Make a small scoped change rather than toggling several unrelated features.
Save and reopen the setting to confirm the value persisted. Check a new sample form or invoice for the actual effect.
Verify the cashier’s account if the change involves access; the administrator view can show controls the cashier cannot use.
Tell the affected staff what changed and update any offline downloads before they rely on the new catalogue/settings.
If behavior differs from the expected configuration, return to the documented prior setting where safe and ask support with the exact screen and record reference.
Check the result Staff know which rule changed and how it appears in their workflow.
IN PRACTICE
A practical example
A manager can view all outlets while a cashier sees only Main Store. Giving the cashier a role called Manager does not by itself assign warehouse access or choose the warehouse’s invoice layout.
Common questions
Why is a feature missing after enabling it?
Check module installation, subscription, user permission, location and whether the feature is web-only. Reload the session if necessary.
Will enabling lots fill old purchases?
No. Lot identifiers must be entered on the relevant stock records; review existing stock before depending on lot selection.