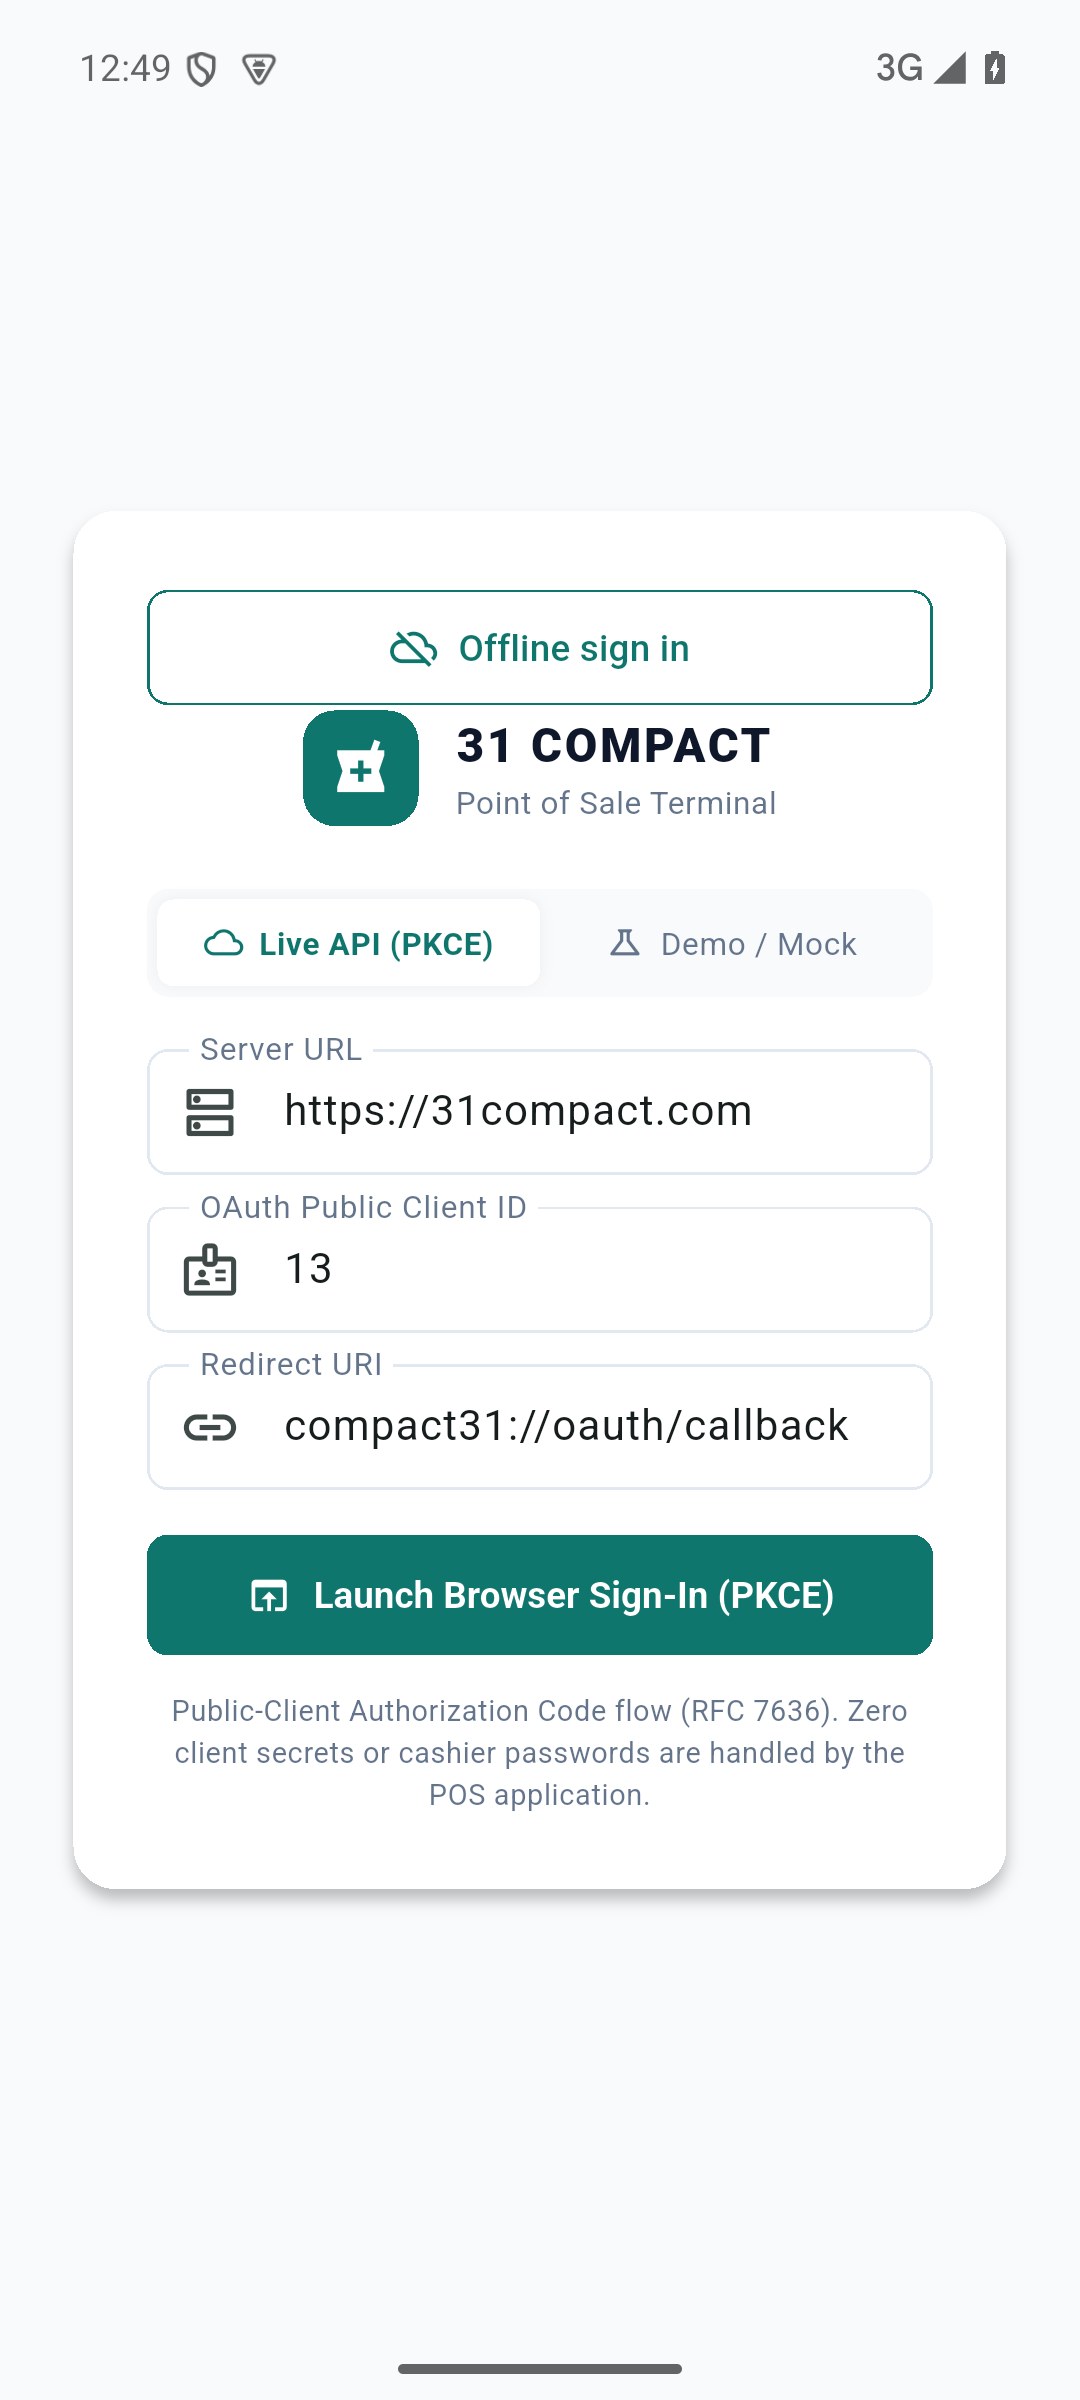
The current apps focus on counter sales, customers/catalogue search, stock, previous bills, register details, expenses, settings and offline sales. Full ERP modules remain in the web portal.
5 procedures · Field reference · Practical example · Common questions
Windows and Android share the same business API while adapting the counter to screen size. Set up users/products/settings on the web, then sign into the native POS with the approved live connection. The browser opens for secure authorisation and returns to the app. Native access remains limited by the same cashier/outlet rules. Updating the app and refreshing business data are separate operations.
SCREEN GUIDE Windows & Android apps — module overview. Select the screenshot to enlarge; optional fields may differ in your business.
Field reference
Use this while completing the form. A required field is marked with *; conditional fields appear only when enabled.
Field / control
What to enter or understand
Live API / Mock Demo
Live connects to the business; Mock/Demo preview is local sample data and is not your live tenant.
Server / client / callback
Approved connection details. The live server is https://31compact.com; do not replace it with 127.0.0.1 for normal live use.
Browser authorisation / callback
Sign in and approve the requested client through the normal flow, then return to the app. Keep authorization codes private.
Outlet / register / user
Verify all three before trading; app installation does not create stock or a staff role.
Settings / offline download / sync
Separate device configuration and local snapshot/queue controls.
Windows package / Android APK
Install the approved complete package; preserve device data with pending sales during updates.
Where to go Supplied Windows package → flutter_pos.exe
Before you start Use the official package supplied by your Compact administrator.
Steps
Download the complete Windows ZIP and extract the whole folder. Keep the executable, DLLs and data folder together.
Open flutter_pos.exe. Choose the Live API mode/tab. Confirm Server URL https://31compact.com and Client ID 13 for the currently deployed portal setup.
Keep the default Windows callback setting. Choose the browser sign-in action, sign in to your own account, complete CAPTCHA if shown and authorize the POS.
Return to the app after callback. Choose your permitted location and check that products/customers load.
Open a shift online before trading. Review Settings for printer/scanner and offline preparation.
Check the result The app uses your live tenant data rather than the separate Mock preview.
Before you start Check the current release’s available controls.
Steps
Use the app for its implemented sale, payment, catalogue/customer search, stock view, history, basic expense and register workflows.
For finalized-bill edits and exact online receipt formatting, follow the supported original web workflow from bill details.
Use the web for catalogue/contact creation, purchases/returns, advanced expense maintenance, detailed settings and ERP modules such as Accounting, CRM, HRM, Project and Repair.
Use a connected device for server actions. Native offline mode provides the limited cached POS workflow described next.
Check the result You do not mistake a web-only workflow for a missing app permission.
Before you start Check unsynchronized sales and retain the existing installation/data.
Steps
Reconnect as the original cashier and resolve queued/needs-review sales before the update where possible.
Obtain the approved newer Windows package or Android APK. Verify the release identification with the business administrator.
Use the normal update path. Keep all Windows runtime files together and avoid clearing Android app data/uninstalling while pending work exists.
Open the updated app, verify connection/business/outlet and review history/local queue.
Refresh/download business data when required; replacing the executable alone does not guarantee a fresh offline catalogue.
Check the result The updated app keeps a traceable connection and local work is preserved.
IN PRACTICE
A practical example
A cashier uses Android for sales and Previous bills while the owner uses the web browser to create products and configure tax. Both use the same live business; a Mock preview is a separate demonstration and will not populate those real records.
Common questions
Why do I land on localhost in browser sign-in?
The Windows callback can be local, but the authorisation server for live use must be the approved HTTPS portal. An authorisation URL at 127.0.0.1 points to a test server.
Does installing Android create another tenant?
No. The authorised account selects the existing business; installation only provides the client app.